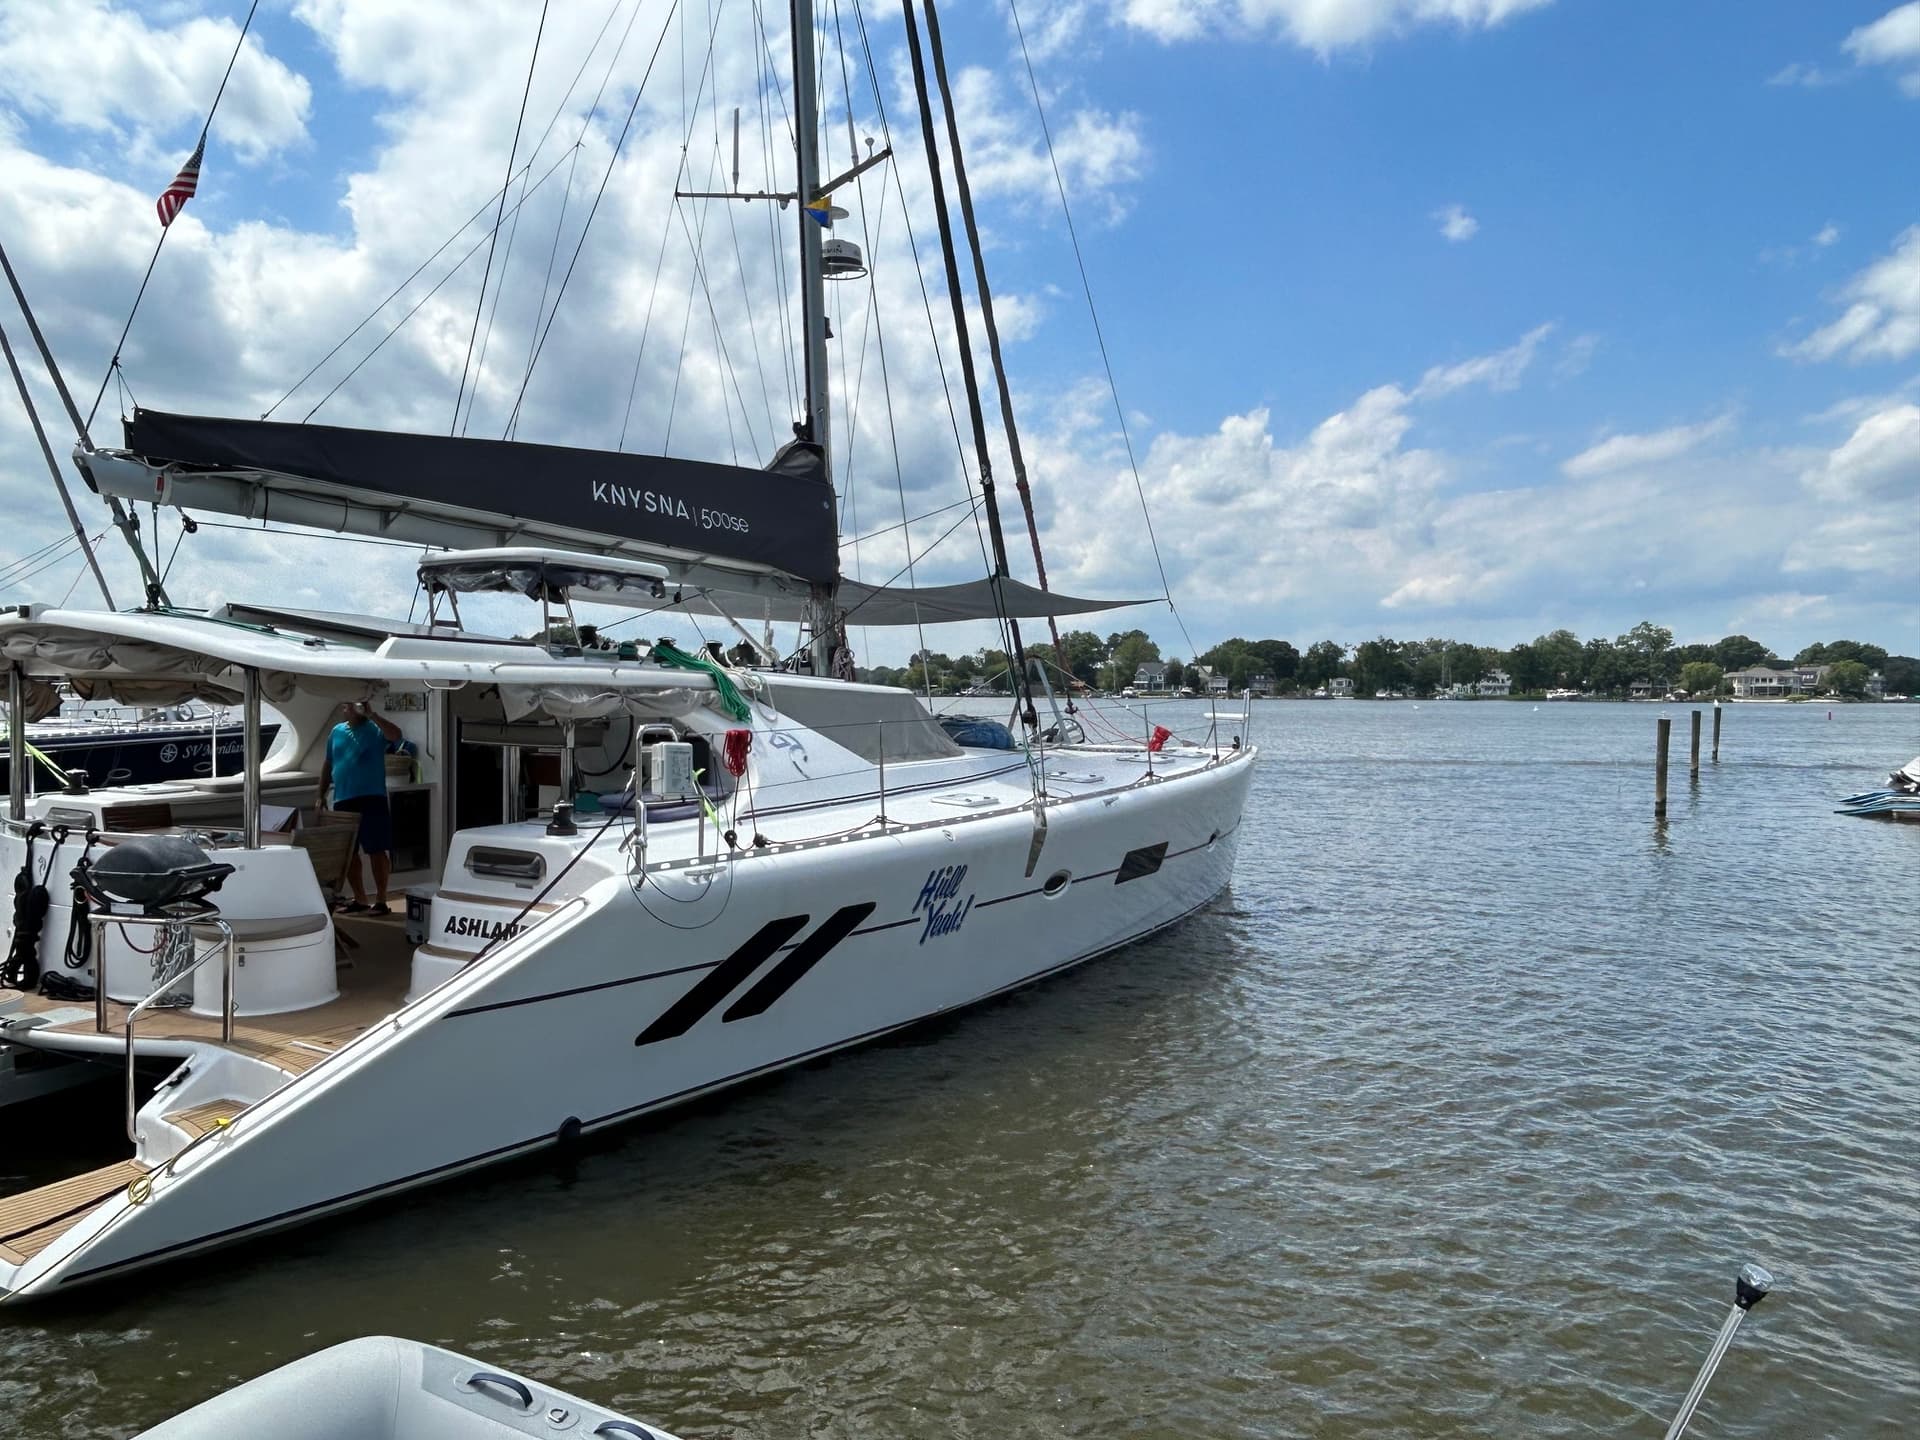
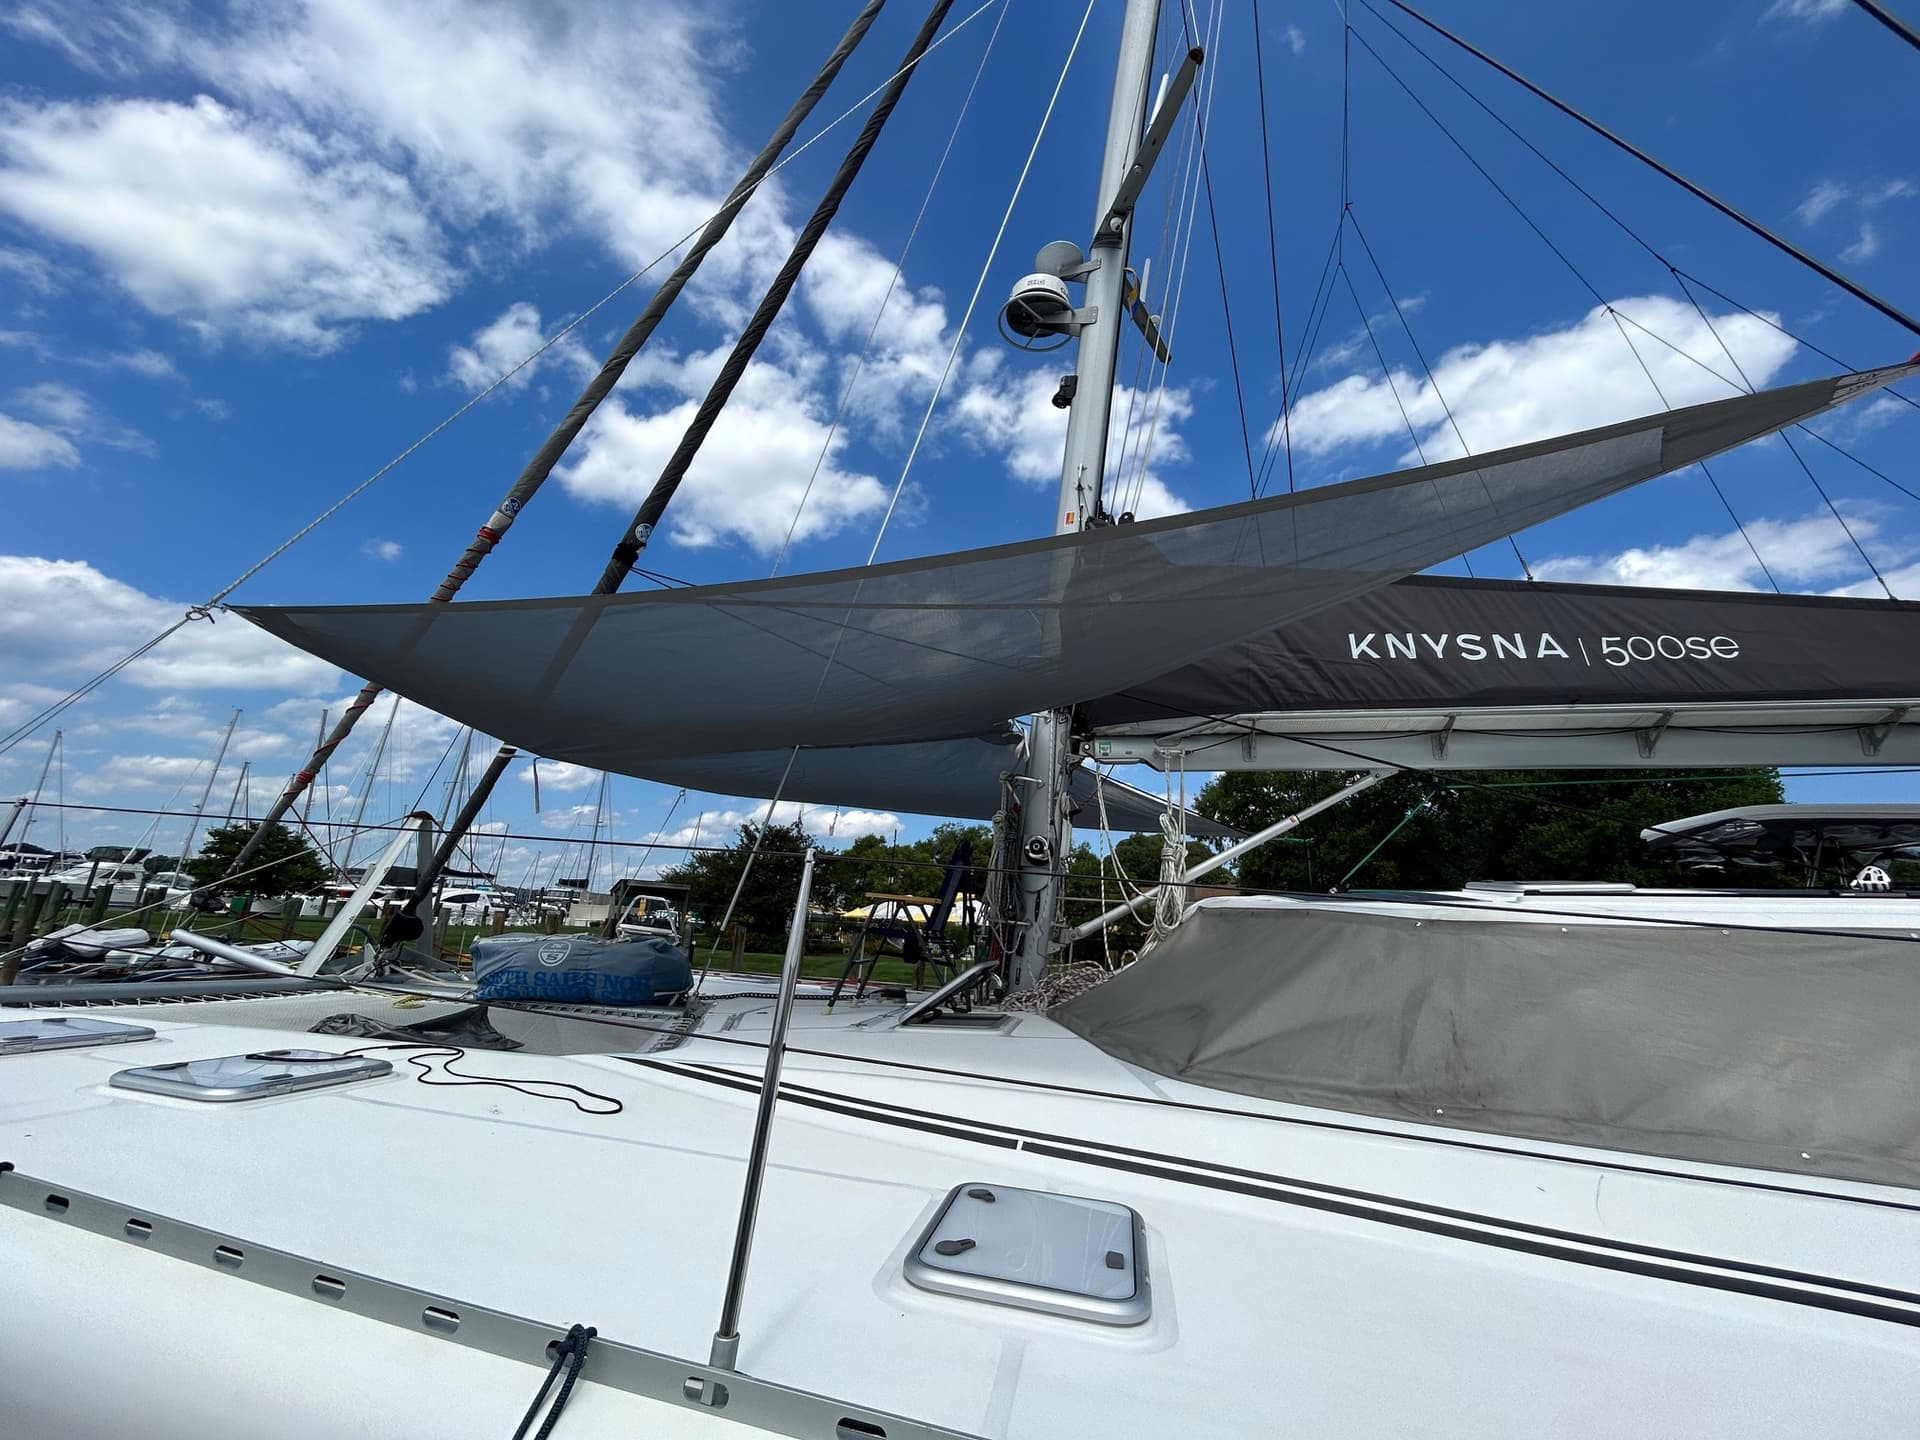
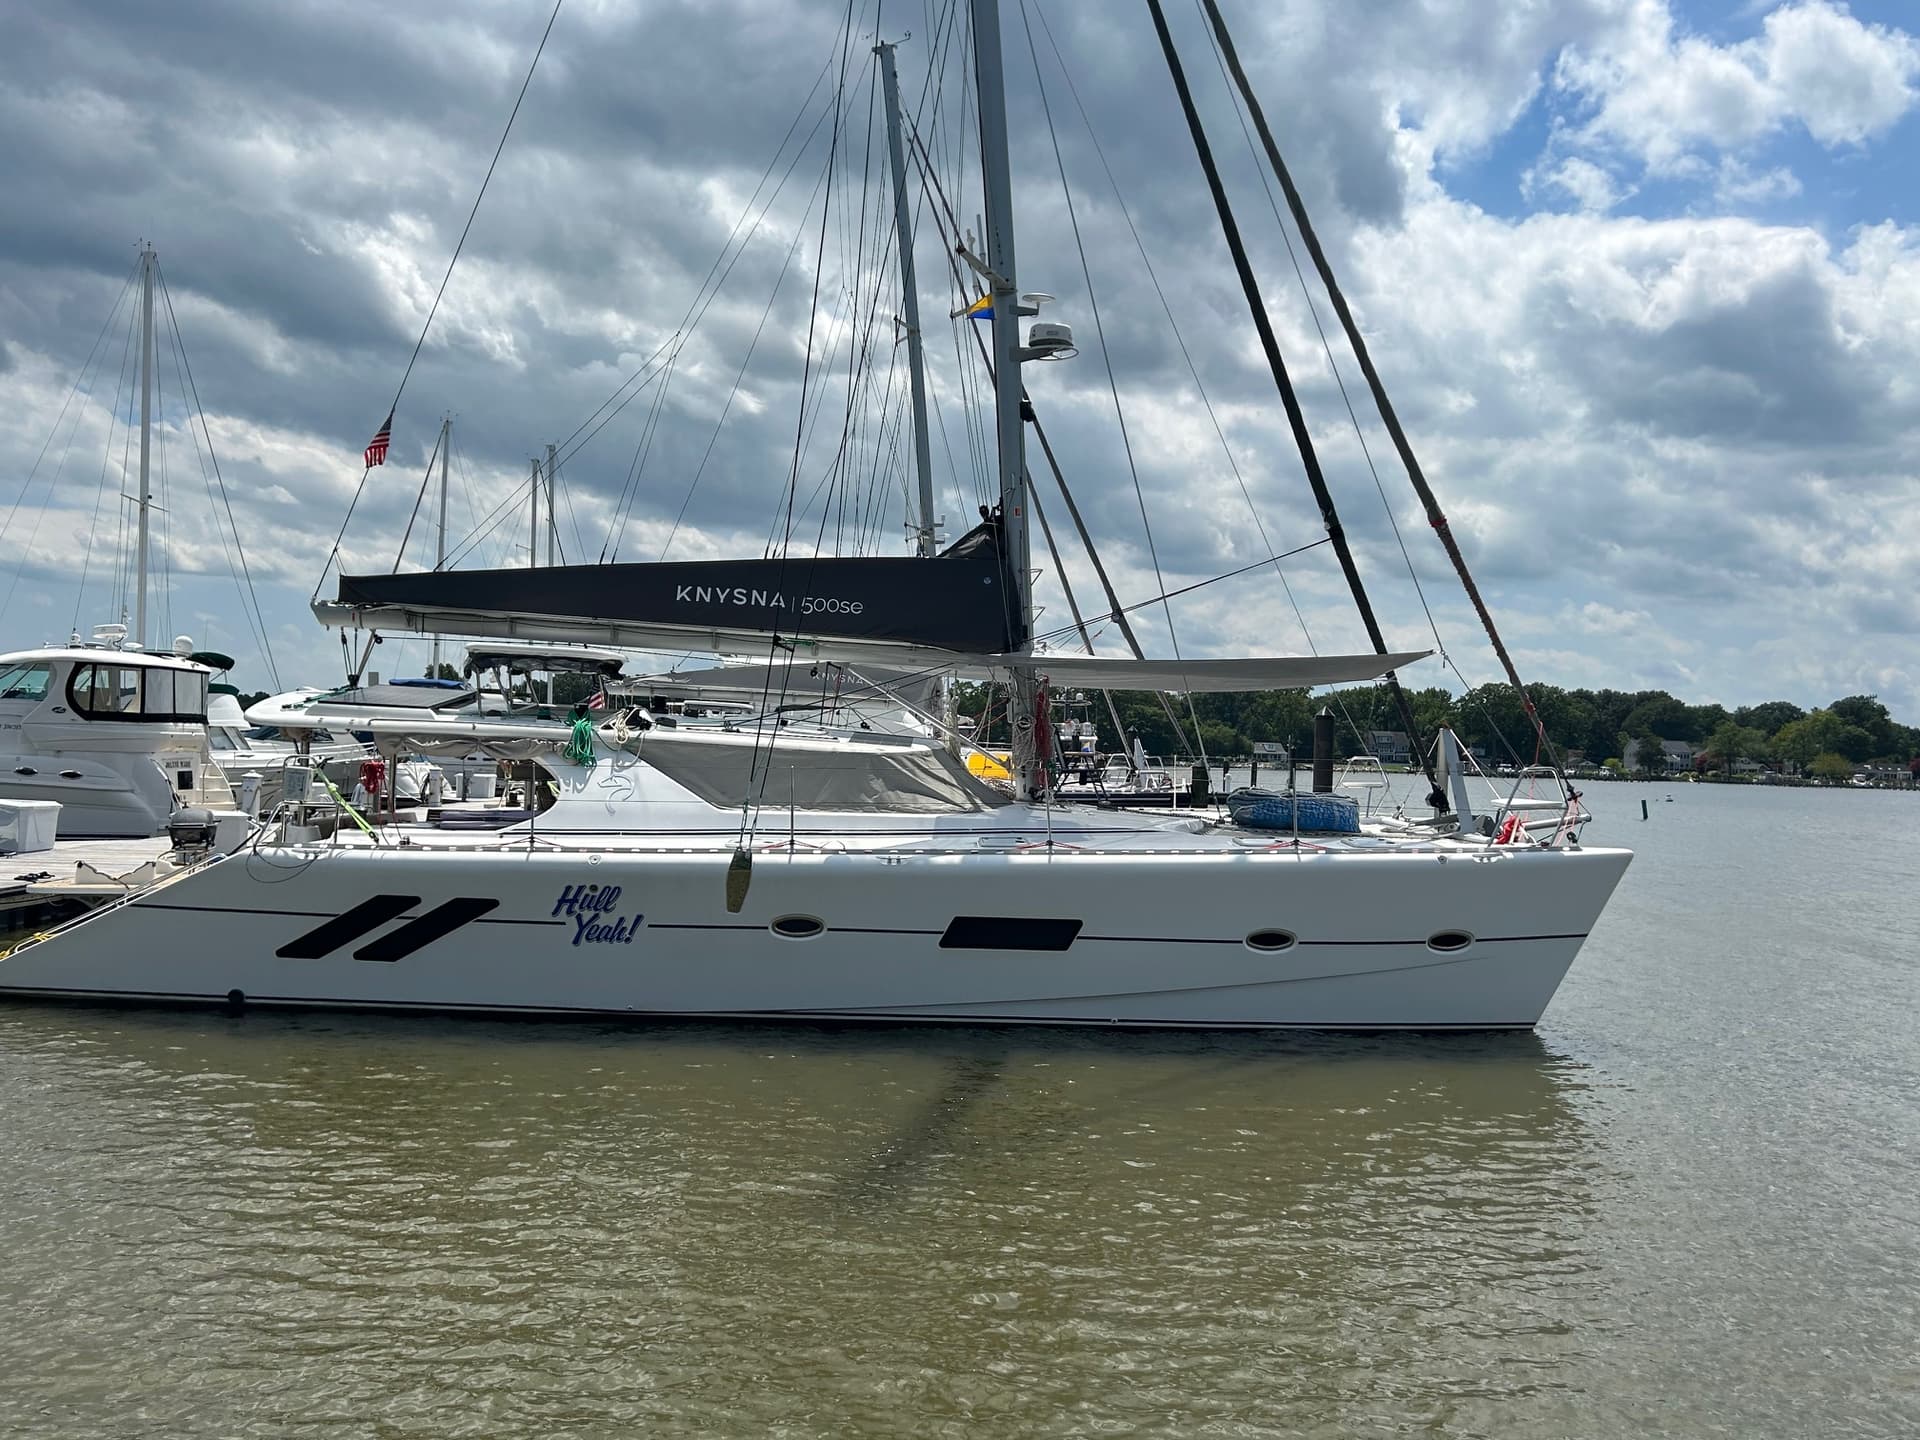
This is for the North Sails (Cape Town loft) awning that fits onto the foredeck to provide shade from front of the saloon to the crossbeam. It works really well and provides excellent shade even in winds up to 25knots (if rigged correctly!)
Having designed this awning with Steve Meek from North Sails after I saw one he had made for an Escape Cat at the Cape Town boat show. When packed up it probably weights about 6kgs and packs into a bag they provide which measures approx. 800mm X 400mm X 300mm
To rig the awning you will need to (preferably) splice up to two dyneema strops in 8mm or 10mm dyneema (or if ordering one new you could ask NS to make these for you if you are not au fait with doing a Brummel eye splice (they are really easy to do - check out You Tube University!!) When making up these strops I would recommend making these strops long enough so that it is easy to walk around under the awning otherwise moving around on your foredeck it will look like you are hosting a Quasi Modo party!!!
I have rigged my awning by fitting snap shackles onto the front eyes which i then clip onto the thimble of the halyard snap shackles. This makes securing the halyard to the strop and awning a two second task. The strops must have an eye splice on both ends.
Feed the strop through the spinnaker block and then clip the awning and halyard to the eyes of the strop. Then tension the aft eyes with the straps to the shroud and tension them so that the awning eyes are approx 15cm from the shroud. ( i rig the aft side of the awning at roughly the same height as the bow eyes but not higher.
Then tighten the awning around the genoa and also to the required height at the mast onto one of the mast steps.
Then tension the storm jib and spinnaker halyards.
I will post a video rigging set up of this when I get back to my yacht.
I’m thinking I might get something made for our boat at some point. Interesting how the split is done to cope with the inner stay. Is that zipped or Velcro?
It also looks like shade material rather than Sunbrella, is that right?
Hi Ian
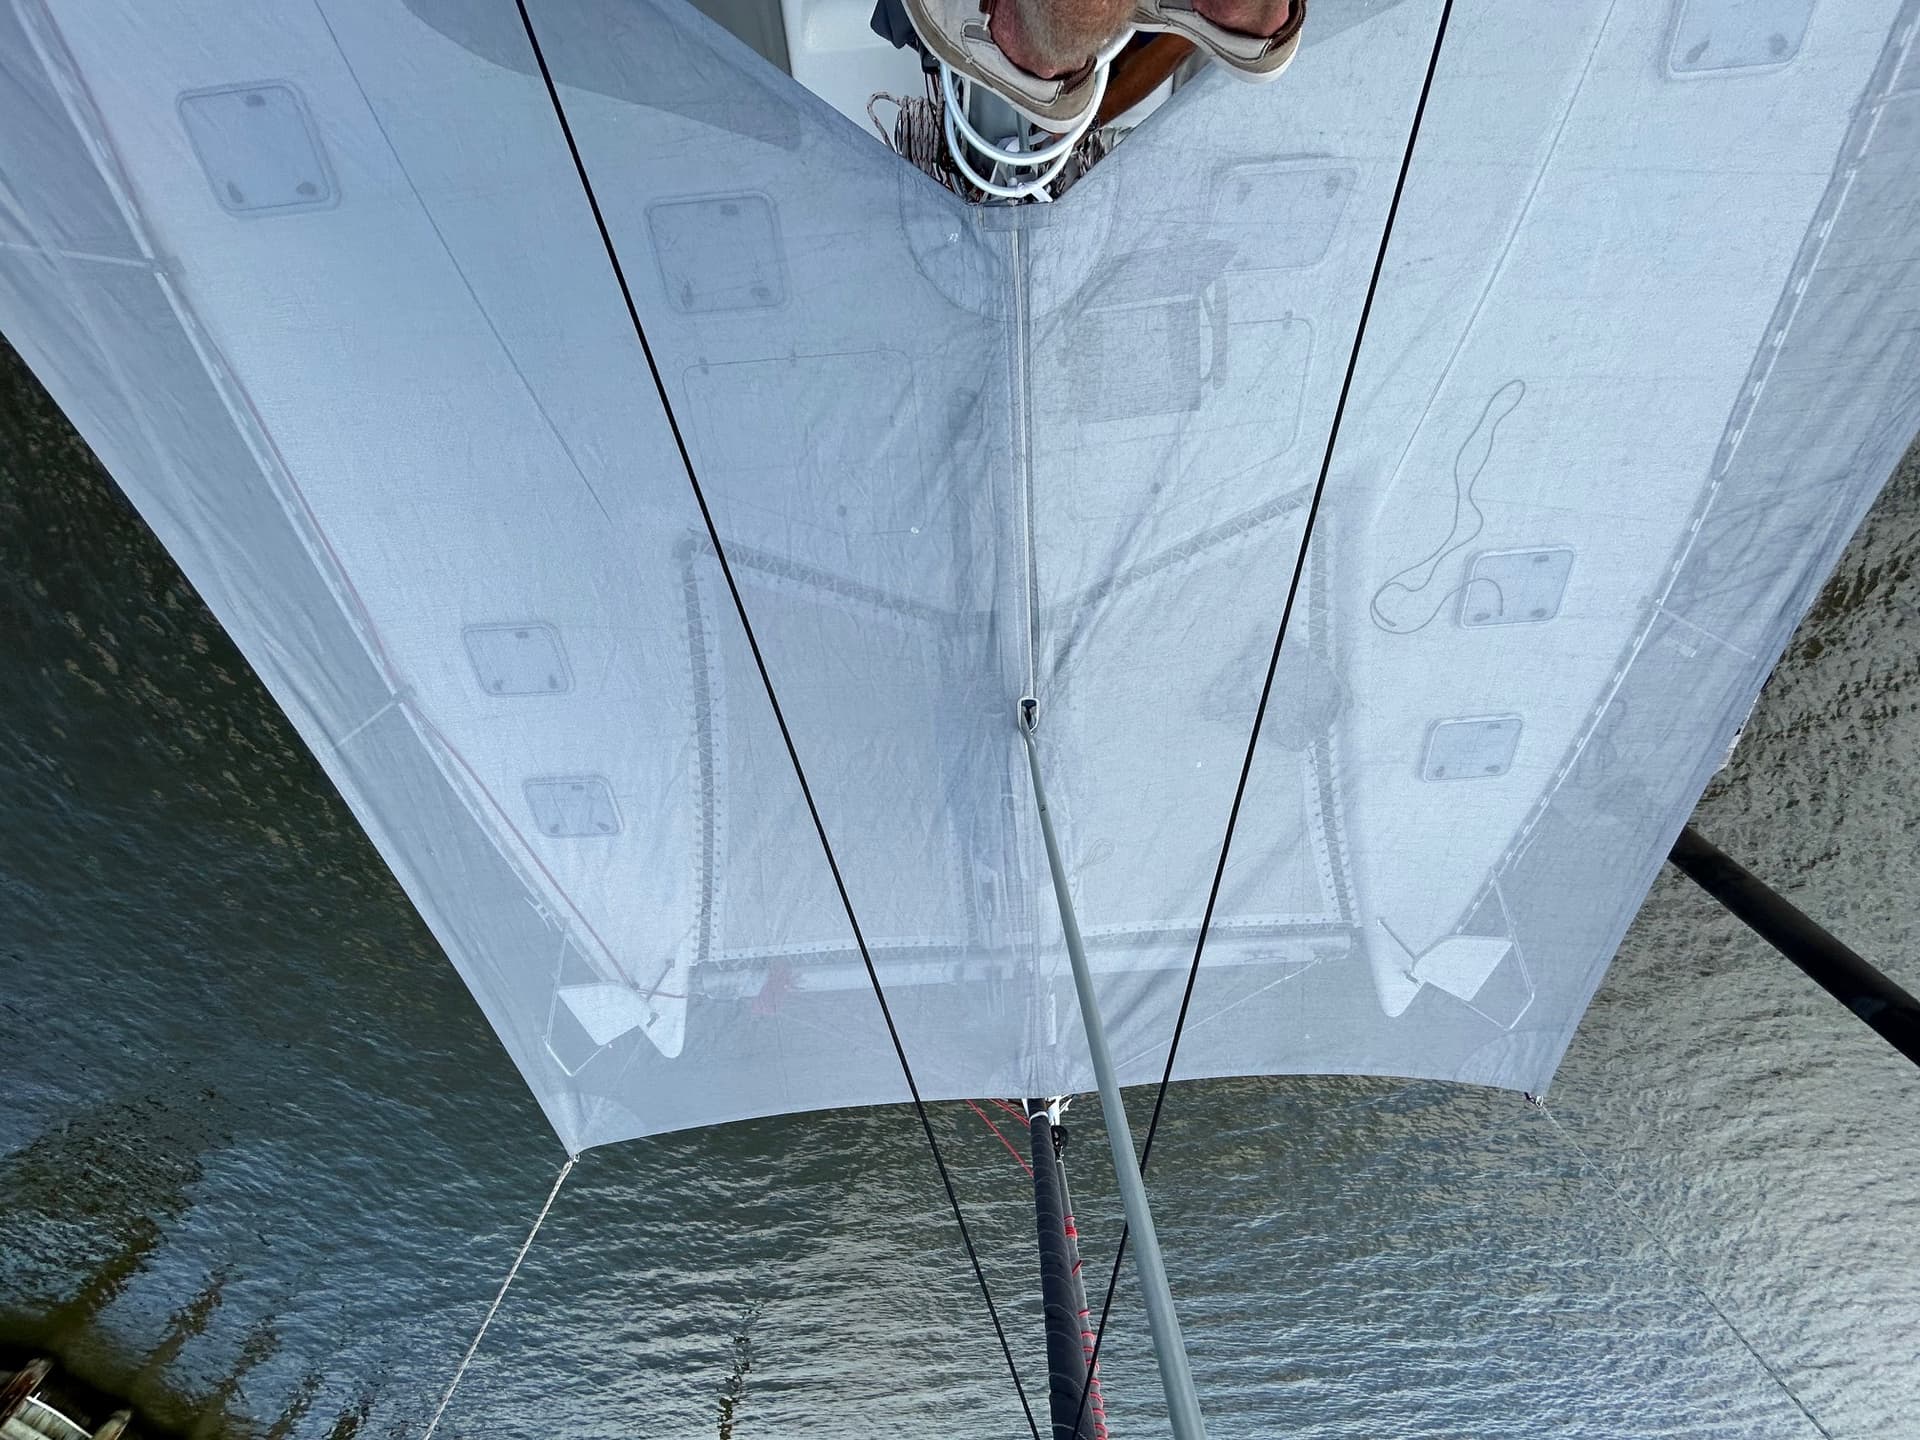
The split is done with Velcro that is 50mm wide and then at the closure at the mast section it has a double Velcro fold over section that locks it in place to stop it opening in strong gusts. I think (now on hindsight - the most exact science known to man !!!) that a small eye on both sections of the Velcro split that one can pass a small snap shackle through will be a better solution to the double Velcro lock
The material used for the sun shade is the same material that KYC use to make the sun shades for the saloon windows. We went for the light grey colour as it was the most practical and reflects heat. Also this product does not hold water when it rains … it is pricey!!
Finally got a chance to ease up on our passage making and put up the awning … I timed myself doing it and it has been 8 months since I last rigged the awning (the yacht was on the hard for the N Hemisphere winter! … It took me 11 minutes to rig it and 8 minutes to pack it away. On both instances this was by myself.
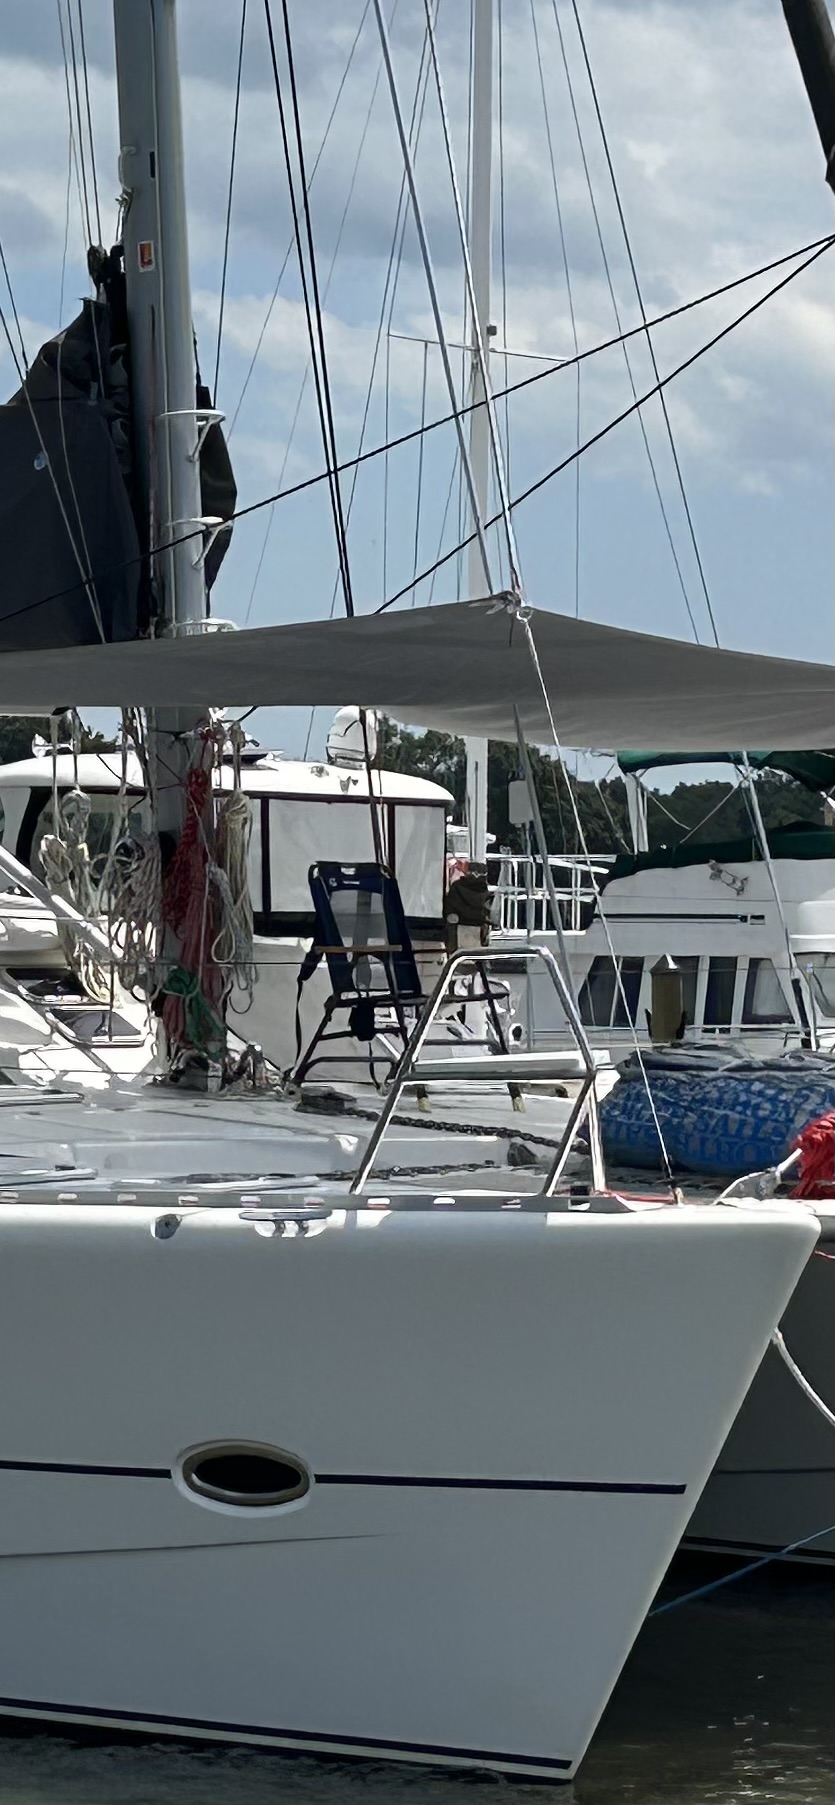
Here are some additional photos that will hopefully make your set up really efficient.
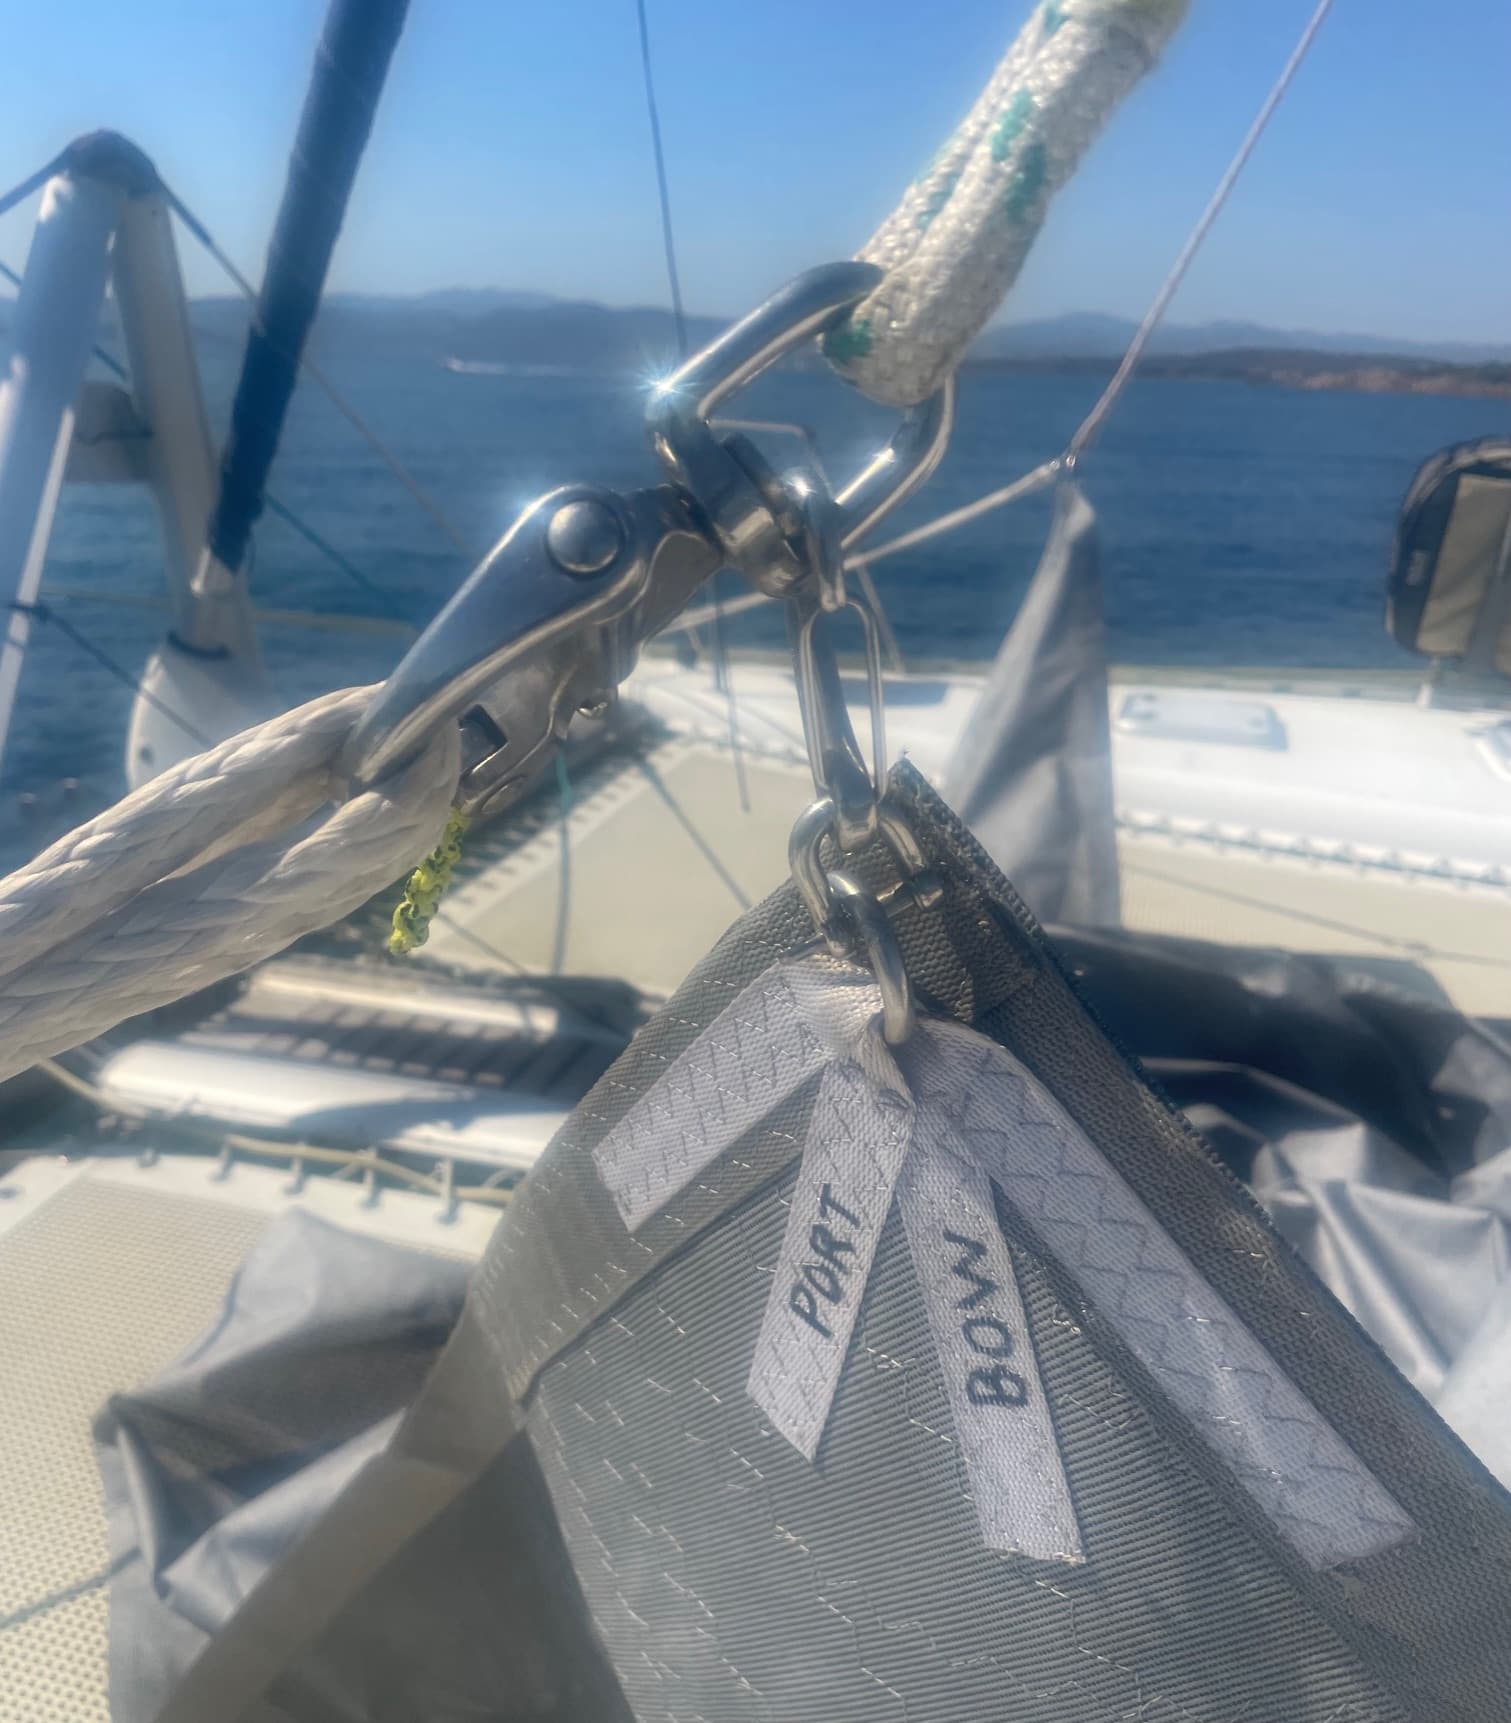
This photo shows the shackle and snap shackle set on the bow section of the awning and where i clip it onto the halyard shackle. Yes one could also use soft shackles for this. Also not the marking of awning so that i know which corner of the awning i am working with at all times. It really helps when unpacking the awning on the trampoline. Another tip … if rigging this at anchor always clip on the two bow sections first to the halyard and then work backwards.
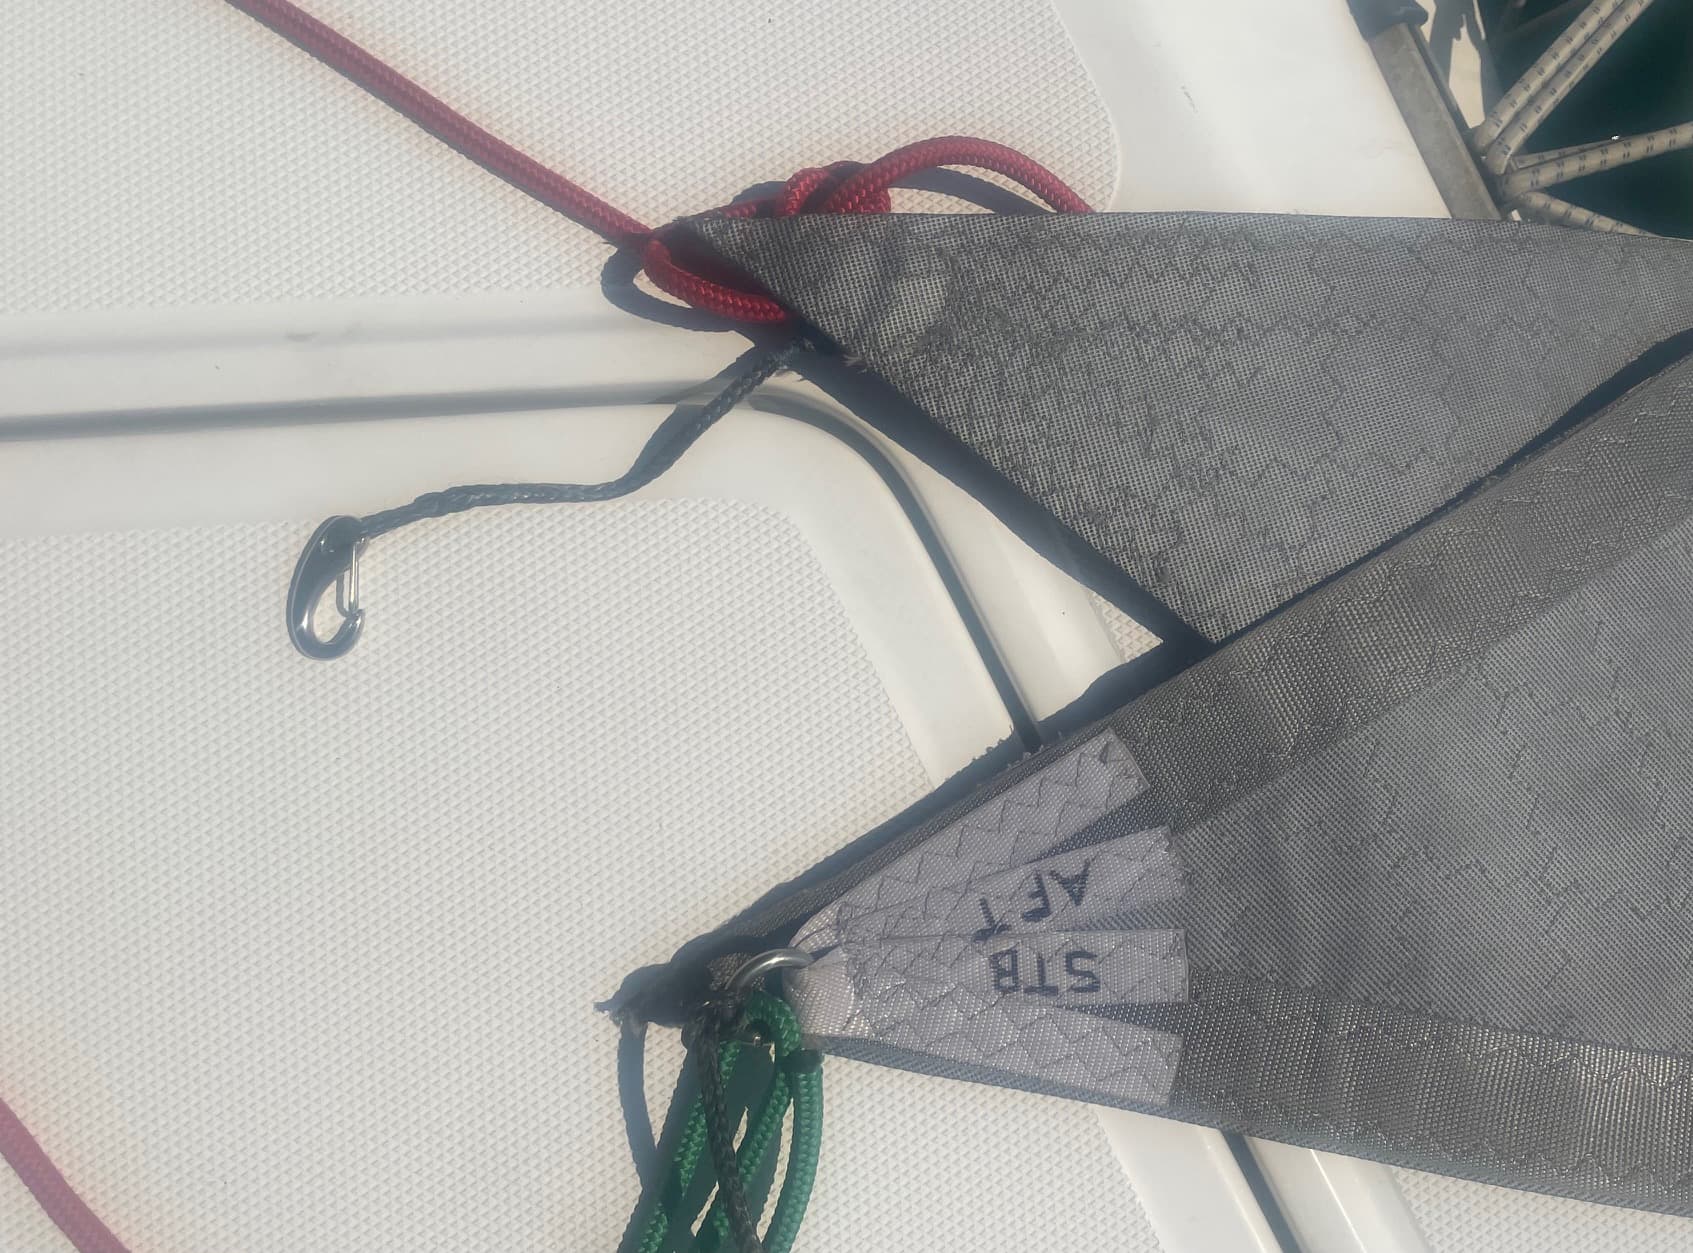
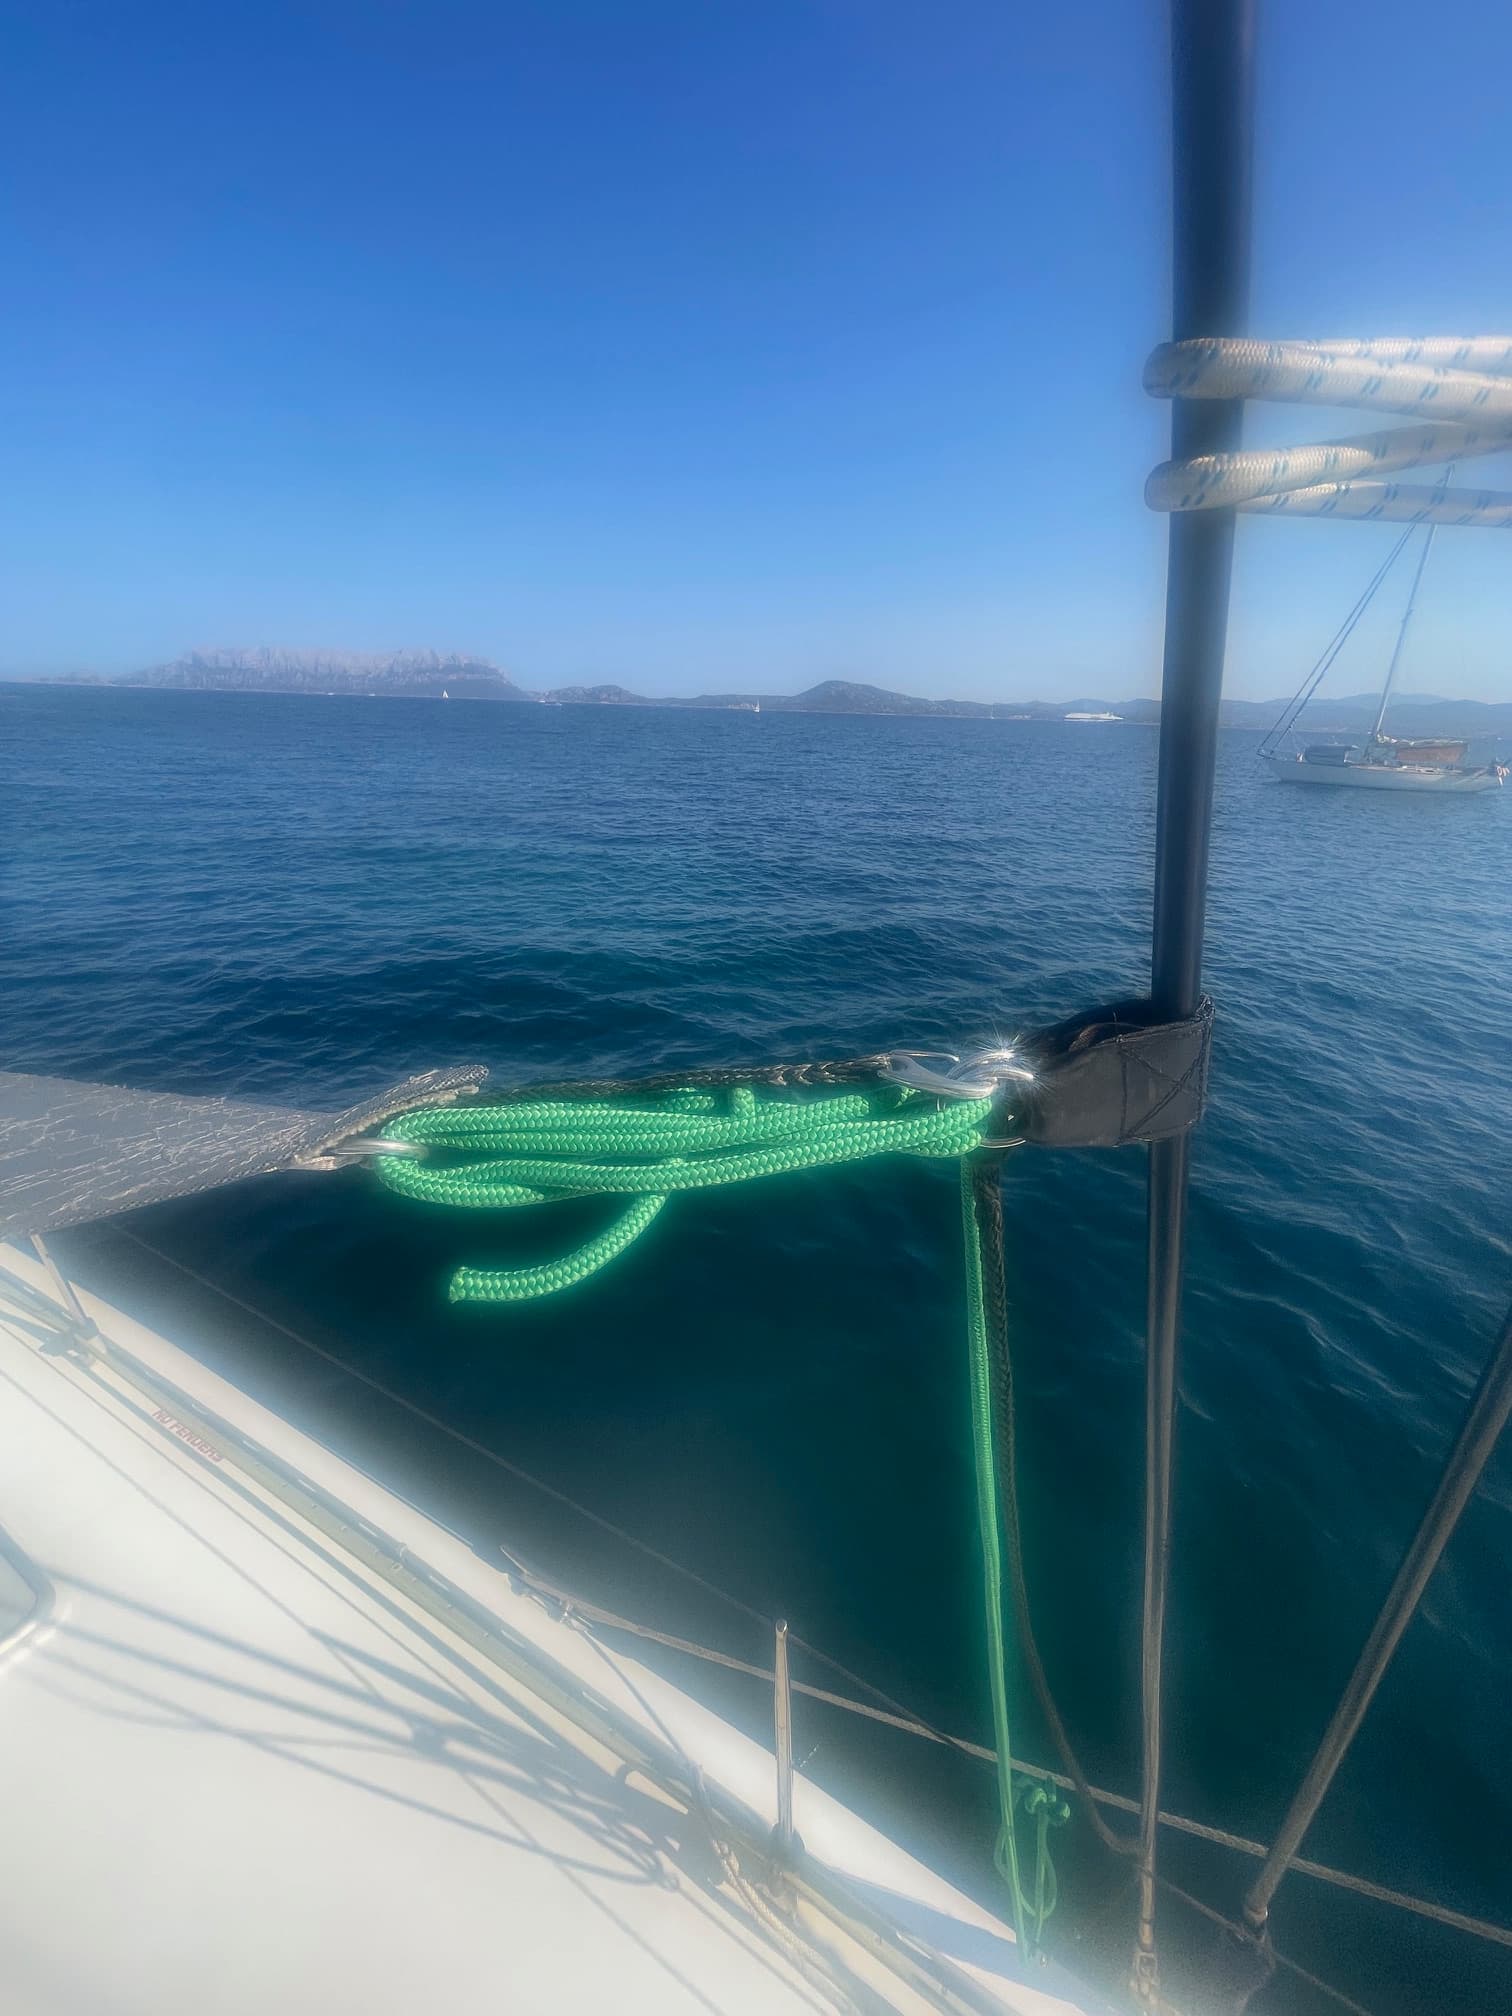
This shows the markings of the aft awning sections … i have used red and green rope so that i know which side is port and starboard … this length of rope is about 2 meters so that you can get at least a two to one purchase onto the strops that go around the shrouds to create proper tension in the awning.
You will also see the short dyneema strop with a small snap shackle … more about this later!
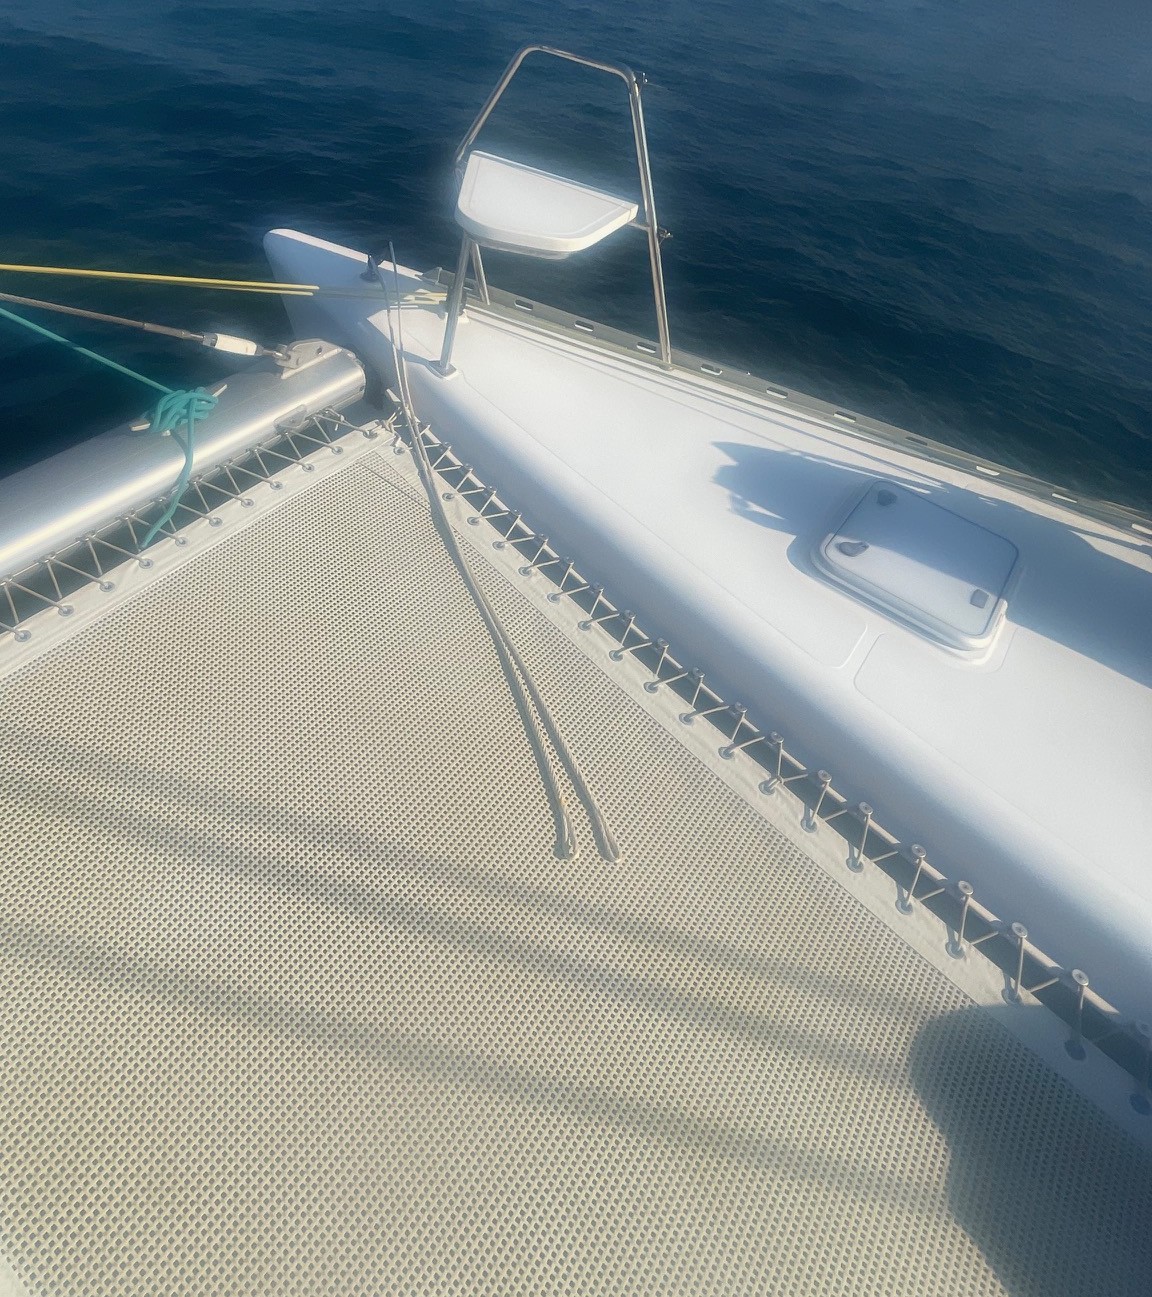
This photo shows the spliced up dyneema strop that is thread through the spinnaker block on each bow. The length of this strop is a personal choice depending (within reason!) the height of the awing you want about deck level. My strops are 4 meters in length giving a deck height of approx 2 meters.
This is the strap that I use on the shrouds … A couple of things to note here:
The strap should have stainless rings on it to allow easy tensioning on a two or three to one purchase through the strap.
The height of the strap is a personal thing … mine is usually set up at about 1.8 meters
I have spliced a small snap shackle onto one of the stainless rings on the awning side with a short dyneema section of 12cm which I then can clip directly onto one of the strap rings when I have created the necessary tension on the two to one purchase and save me having to tie this line off. I then take the excess line (red or green tensioning line) and tie it off on the toe rail to prevent the awning from lifting up to high up the shrouds if the wind picks up. (I have now made another dyneema strop with a snap shackle for this too!
Other tips … I then tension the aft middle strap after I have closed the velcro section around the inner forestay onto one of the mast steps. I then tension the middle front strap around the genoa. I would suggest at least two full wraps of the strap around the genoa to prevent chaff on the UV strip of the genoa. The newer awning have a wrap section now for this which is much easier to rig.
I think that is about it! … This awning is a game changer here in the Med.